Anchor charts can be powerful tools in the classroom. They are visual aids that help students understand and remember important concepts, strategies, and information. Anchor charts can enhance learning, promote student engagement, and serve as a valuable reference throughout the school year. But they aren't a resource you can expect to learn about in any sort of teacher training. That's why we've compiled some tips for creating and using engaging anchor charts in your classroom. But first, let's explain what an Anchor Chart is and how you can create your own to use in your classroom.

What is an Anchor Chart?
An anchor chart is a visual learning tool used in the classroom to support instruction and reinforce learning. It is typically a large poster or chart that displays key concepts, strategies, or information related to a specific topic or subject. Anchor charts are created with input from students and serve as a reference point throughout a unit of study or the school year. They "anchor" the learning of students by providing a visual reminder of important information.
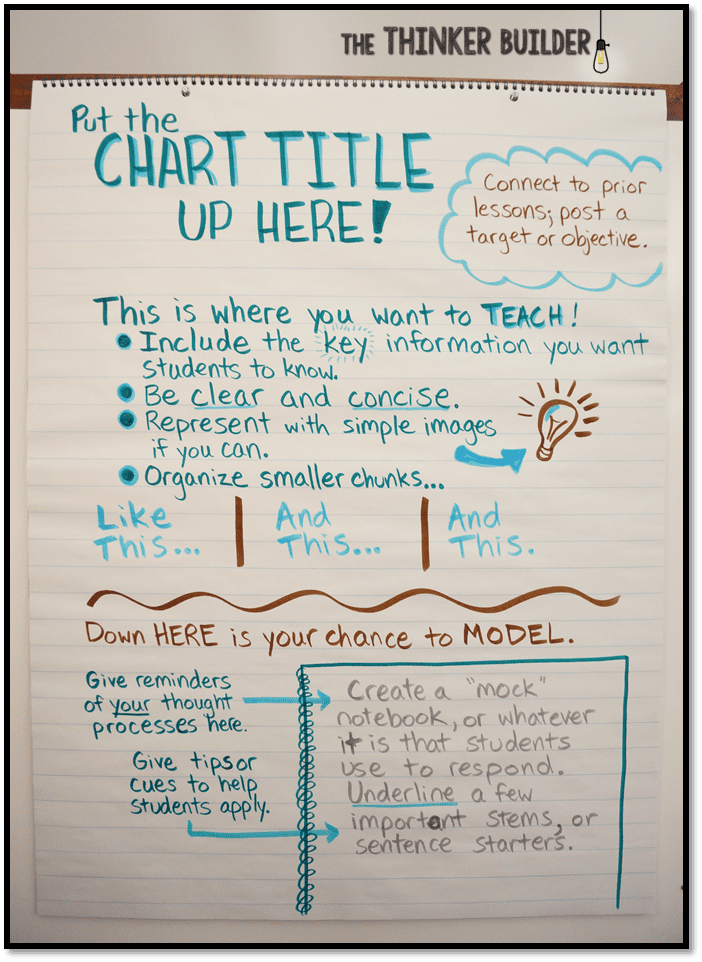
The Thinker Builder/Anchor Chart via thethinkerbuilder.com
How Do I Make An Anchor Chart?
Making an anchor chart is a simple and fun process that can be done collaboratively with your students. No need to be artistically inclined - we've got several resource options to choose from that make creating an Anchor Chart quite easy.
-
Choose a Topic: Decide on the topic or concept you want to create the anchor chart for. It could be a math concept, a reading strategy, a science process, or any other topic relevant to your curriculum.
-
Gather Materials: Gather the materials you will need. Choose from our selection of charts, like one in our Charts With A Purpose pack. Then grab markers, sticky notes, and any other supplies you want to use to decorate or enhance the chart. We recommend some stickers for added fun, like our Farm Friends Hot Spot stickers.
-
Plan the Layout: Plan the layout of your anchor chart. Decide where you will place the title, key points, visuals, and any other elements you want to include. If you lack the time or skill to create a layout for your chart, simply use one of our charts that comes pre-formatted for you.
-
Create the Chart: Start by writing the title of the chart at the top of the paper, or use one of our letter packs to create the title. Then add key points, information, and visuals to the chart. You can use different colors, cut-outs, and calendar days to make it visually appealing.
-
Engage Students: As you create the chart, engage your students by asking for their input, ideas, and examples related to the topic.
-
Review and Revise: Once the chart is complete, review it with your students to ensure that it accurately reflects the topic and is easy to understand. Make any revisions or additions as needed.
-
Display the Chart: Display the anchor chart in a prominent place in your classroom where students can easily see and refer to it. Refer back to the chart often during lessons to reinforce learning.
-
Use and Update: Use the anchor chart as a reference tool throughout the unit of study or school year. Update or create new charts as needed to reflect new learning and concepts.
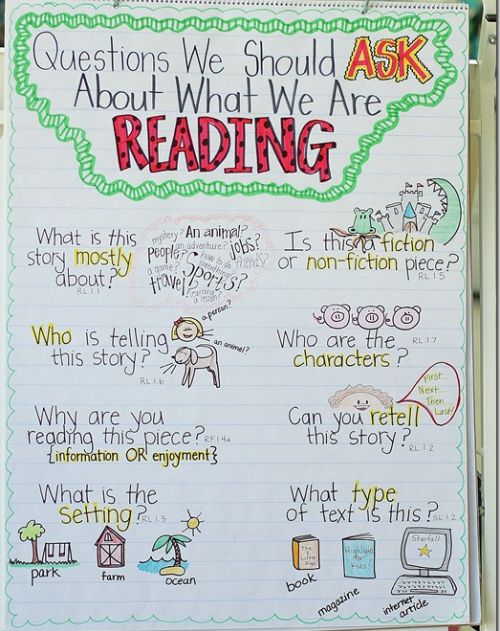
Babbling Abby/Reading Anchor Chart via babblingabby.net
How Do I Make My Anchor Chart More Engaging?
Anchor Charts are great, but what's the point in going through the work of creating one if your students never engage or reference it afterwards? To help prevent that from becoming the case, here are some tips on how to maximize the usefulness of your anchor chart:
1. Keep it Simple and Clear: When creating an anchor chart, aim for simplicity and clarity. Use clear, easy-to-read fonts and limit the amount of text. Using our designer letter cut-outs can help with this. Focus on key concepts and use visuals, such as drawings, stickers, or cut-outs, to reinforce understanding.
2. Use Color and Visuals: Colorful anchor charts are more engaging and memorable for students. Use different colors to highlight key points and use visuals to illustrate concepts. Our selection of chart packs come in a variety of colors and designs ready for use.
3. Make it Interactive: Engage students in the creation of anchor charts to make them more interactive and meaningful. Invite students to contribute ideas, draw pictures, or add sticky notes to the chart. This helps students take ownership of their learning and makes the chart more relevant to them.
4. Keep it Relevant: Anchor charts should be relevant to the current learning objectives or topics being studied. Update or create new charts as needed to reflect the content being taught. This keeps the charts fresh and useful to students.
5. Use Cut-Outs for Flexibility: Cut-Outs are a great way to add flexibility to your anchor charts. You can easily add or remove information without having to recreate the entire chart. Simply write on them and add a little tape to the back for temporary information or to allow for student input.
6. Review and Refer Back Often: Refer back to anchor charts regularly during lessons to reinforce learning. Use them as reference tools during activities or discussions. Encourage students to use the charts independently when they need help or clarification.
7. Incorporate Student Work: Include examples of student work on anchor charts to demonstrate expectations and celebrate achievements. This helps students see the relevance of the chart to their own learning and motivates them to strive for success. Our Mini Bulletin Board Sets, like the Star Bright Positive Thinking Mini Bulletin Board, are great for turning your anchor chart into an entire student work bulletin board display.
8. Make it Interactive: Encourage students to interact with the anchor charts by adding their own notes, questions, or annotations. This helps deepen their understanding and allows for personalization of the charts.
9. Keep it Organized: Organize your anchor charts in a way that makes them easy to access and use. Consider grouping related charts together or labeling them clearly for quick reference.
10. Reflect and Revise: Periodically reflect on the effectiveness of your anchor charts and revise them as needed.

Anchor Chart Idea: March Financial Literacy
With tax season right around the corner, March is the perfect time to teach your students about financial literacy with a financial literacy anchor chart! Start with our Financial Literacy for Kids Bulletin Board to quickly build the base of your anchor chart and provide informative graphics that you and your students can use to display necessary information.
Accompany your anchor chart with our Financial Literacy for Kids book pack, where familiar friends Cat and Dog learn all about money and what to do with it. As your students read each book, discuss and build upon your financial literacy anchor chart!
Find More Anchor Chart Ideas in Our eBook
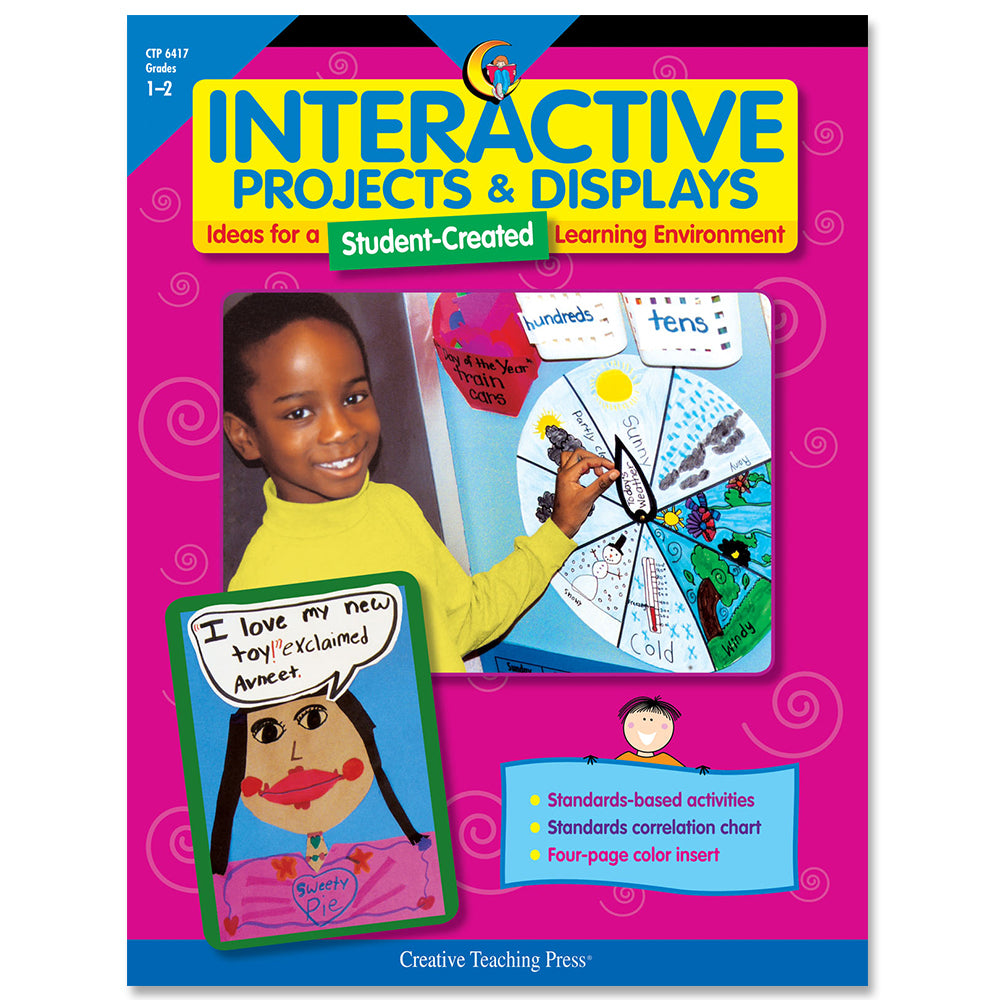
Our Interactive Projects and Displays eBook offers over 50 engaging activity suggestions to enhance student learning in the classroom. Take the guess work out of how to incorporate anchor chart learning and engagement with this downloadable ebook resource!
Enjoy This Free Download
Our Loop-de-Loop Labels are the perfect solution to creating an anchor chart with customizable and removable information labels. Download them for free here.